Here I will discuss with you one of them, the feature of new the FileUpload control in ASP.NET 4.5. The FileUpload control in ASP.NET extends it's functionality by supporting the upload of multiple files at once.
Prior to this latest version, the FileUpload control only supported a single file at a time, but version ASP.NET version 4.5 solves this issue very well.
Now, the FileUpload control is built to support HTML 5, therefore it is only supported in browsers supporting HTML5. For other browsers it will work like a normal file upload control in ASP.NET.

A new attribute that comes with the ASP.NET 4.5 FileUplaod control is that:
AllowMultiple: It takes either true or false.
In order to support multiple file uploads, set AllowMulitple="true" other than false.
This attribute is for the browsers that support multiple files to be uploaded and for this purpose it renders the necessary HTML5 attribute.
In addition to this control, some new properties have been included to support code-behind coding.
HasFiles: Check whether FileUpload control has multiple files or not.
PostedFiles: Basically used to get all the files from the FileUpload control in the iteration.
Both properties will help to work with the mulitple selected files in Code-Behind coding (C#).
After the preceding overview of the theory, let's proceed to implement this cool feature in an application.
First, in the ASPX page declare a FileUpload control.
Remember: Set the AllowMultiple attribute to "true" to enable the multiple file upload feature.
<asp:FileUpload runat="server" ID="UploadImages" AllowMultiple="true" />
Now, the following HTML is rendered in the browser:
<input type="file" multiple="multiple" name="FileUpload1" id="FileUpload1" />
The AllowMultiple attribute renders multiple attributes in the HTML 5.
The complete code for .aspx file will looks like:
<div>
<asp:FileUpload runat="server" ID="UploadImages" AllowMultiple="true" />
<asp:Button runat="server" ID="uploadedFile" Text="Upload" OnClick="uploadFile_Click" />
<asp:Label ID="listofuploadedfiles" runat="server" />
</div>
You will see that I have attached a button's click event. So, now start to write C# for this.
In the following code I will use HasFiles and PostedFiles properties that we will see in the preceding section.
protected void uploadFile_Click(object sender, EventArgs e)
{
if (UploadImages.HasFiles)
{
foreach (HttpPostedFile uploadedFile in UploadImages.PostedFiles)
{
uploadedFile.SaveAs(System.IO.Path.Combine(Server.MapPath("~/Images/"),
uploadedFile.FileName)); listofuploadedfiles.Text += String.Format("{0}<br />", uploadedFile.FileName);
}
}
}
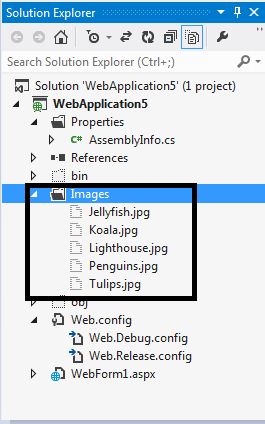
In the code above I have saved each image in the Images folder of the web application from the PostedFiles collection.
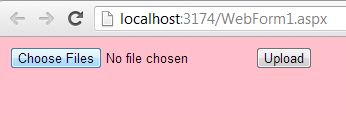
Now, run the application and see the output.

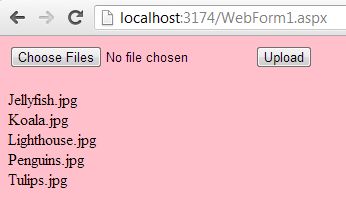
Select multiple files and click on the Upload button and it will show you the list of files that have been uploaded.

